BryanValRox
Elite Member
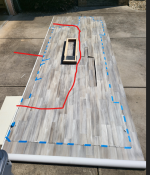
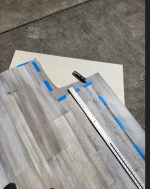
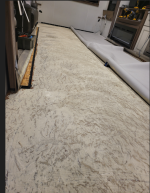
RockDr896,I damaged my floor and now I am paying the price...LOL. Since the linoleum is floated (Connected at the outside edges) and not glued down, my attempt at patching my mistake looks terrible. Now it's time to do it right and that means removing the island. Here is what I found and how to take the island out. Once again, quality control wasn't working that day and either missed the duct issues. It is also apparent, the engineering at the connection point was not considered, or not used. Pricing in the pictures, was from the first order I made back in 2024. The pattern repeats every 7 feet, so I had to get 14' to make sure I captured a repair piece that would work. I will update the pricing if it changes.
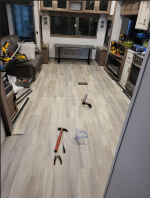
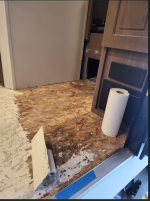
Thanks to your post, and beautiful weather today I was inspired by your post and documentation to remove our island and base. My intention was to see what I could do to address my collapse duct work from above. Once removed, I was able to enlarge the floor cut out by about an inch which makes it match the metal plentum much better. I was also able to reach inside the hole and get the end of the duct work re-expanded and then secured in the open position via screws down thru the floor into the duct work pulling it up tight to the underside of the floor.
The duct is L shaped so fortunately my collapse was in the leg of the L. A few well placed screws with the confines of the island base footprint are now holding it open and no screws are visible.
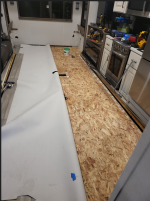
I also found some self expanding weather stripping at Lowes and used it to make a gasket around the plentum box. This now provides a positive seal between the plentum and the floor.
Airflow is much improved!
Now all I need to do is track down the necessary ASB fittings to reassemble the kitchen sink drain.
Thanks for taking the mystery out of removing the island!