
galtcity99
Member
First of all after going through the camper there is nothing special about Alliance vs Forest River or other mfg... Matter of fact there are things that our Rockwood was better in and then there is better things on the Delta.
I would say don't get hung up on a brand and or listen to there hype because it's all BS. They are built like crap and nobody cares. Just get a floor plan you like.
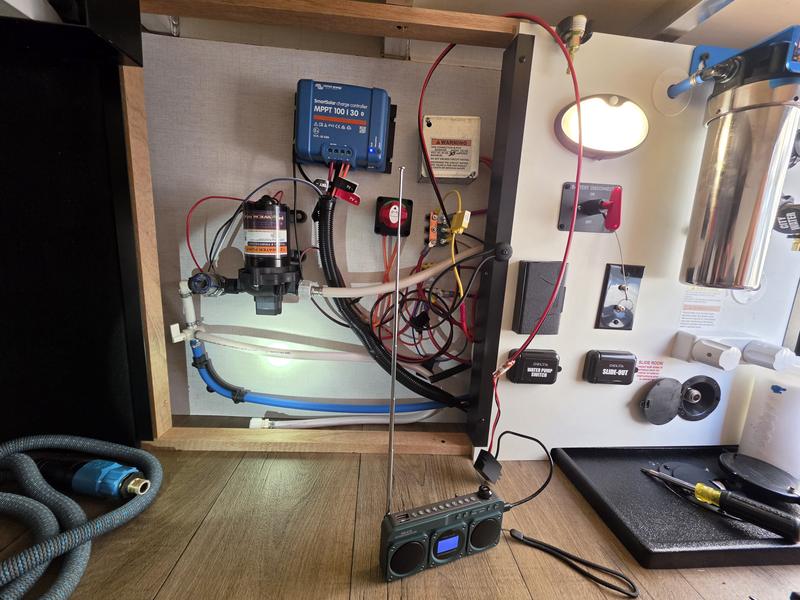
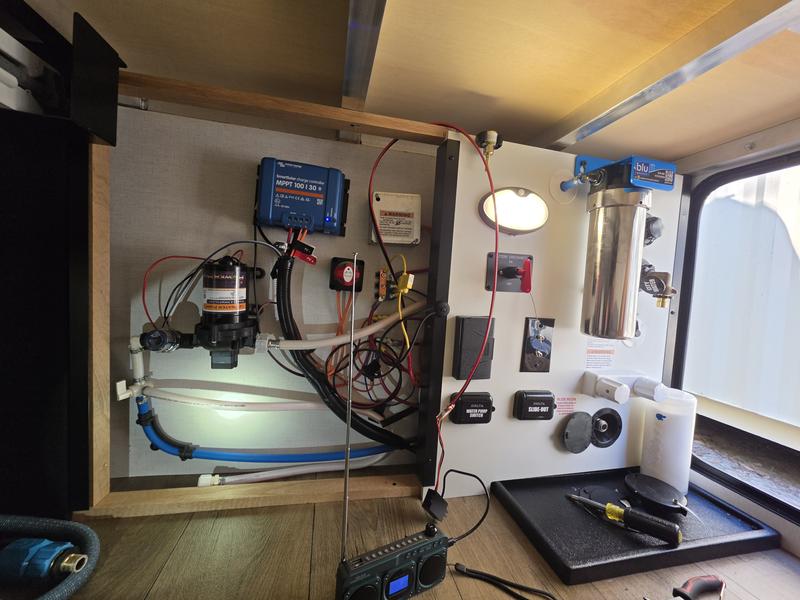
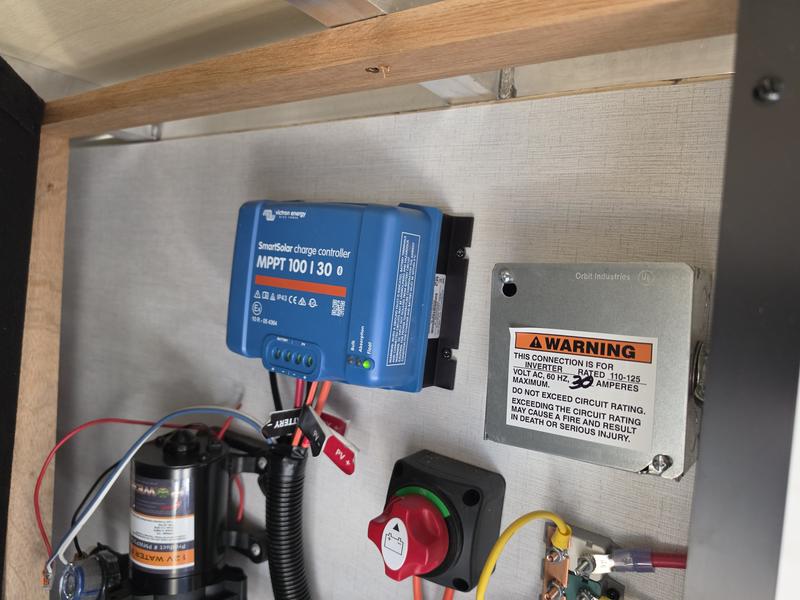
I do like they use a good charge controller (Victron) and a pretty decent 400W Panel I think Renogy... The first thing I did at the dealer is connect my app to the controller gotta use the pin from the sticker and make sure it was set to my LIFEPO4 batteries. I will add a second panel later and run them in series.
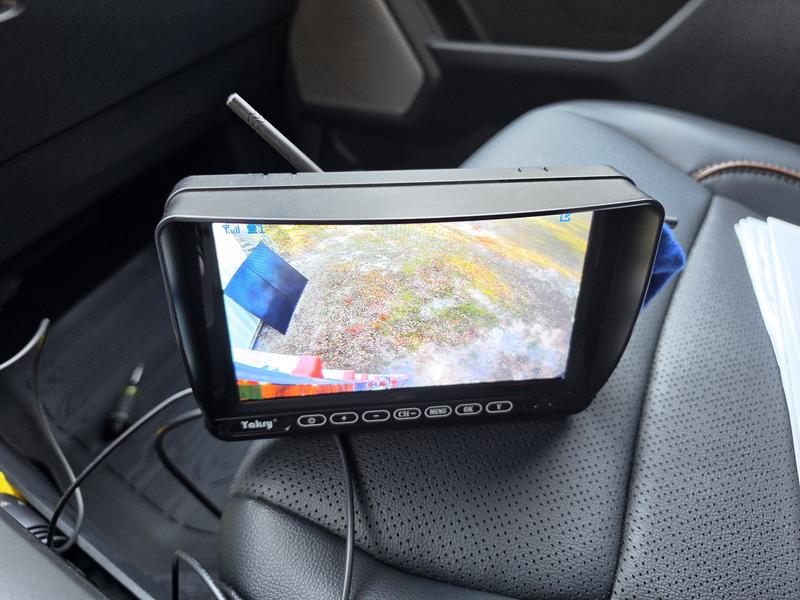
So first thing I did is add my backup camera and wired it to the lights. That camera button is the dumbest thing I have ever seen. Most all mfg have the backup camera so you can control it with the lights. I run down the road towing with at least the running lights anyway.
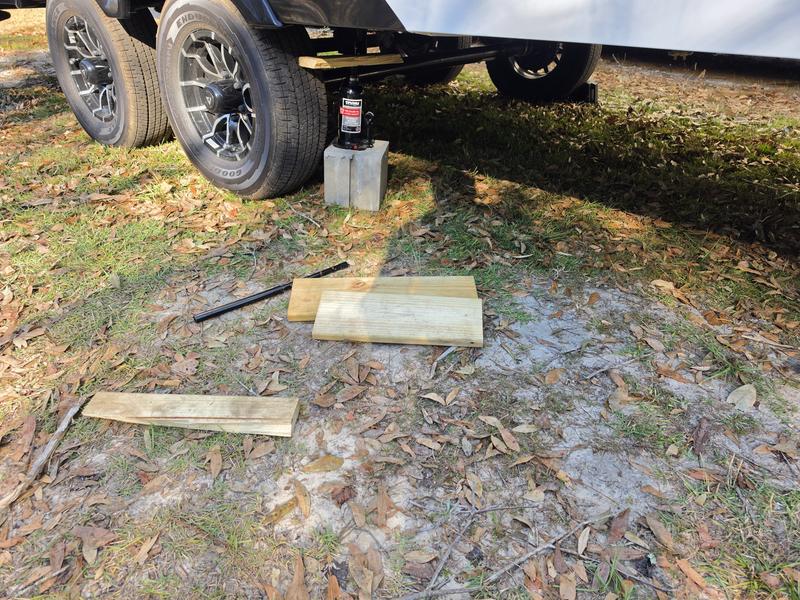
Pictures.
.
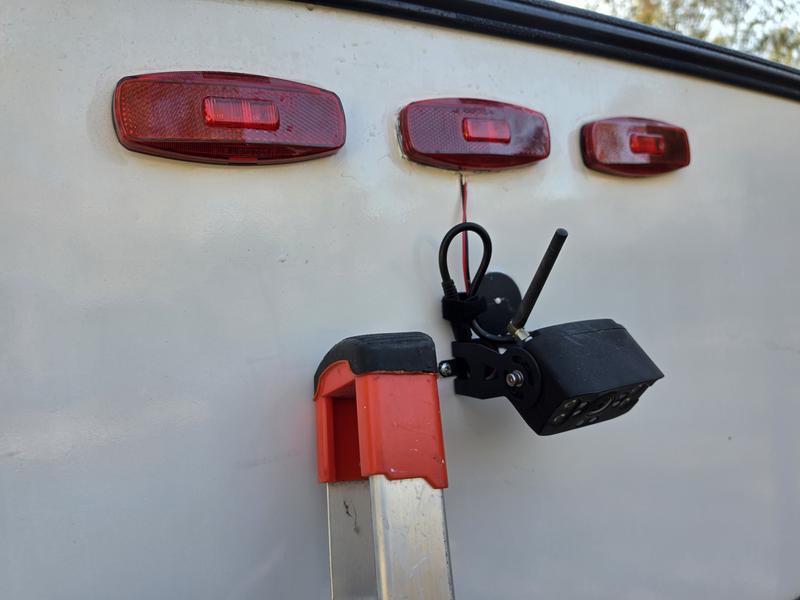
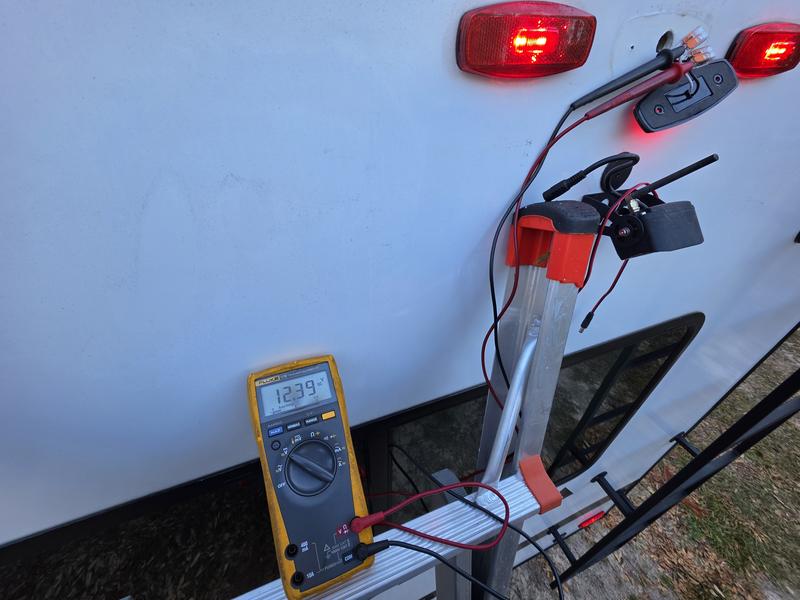
,
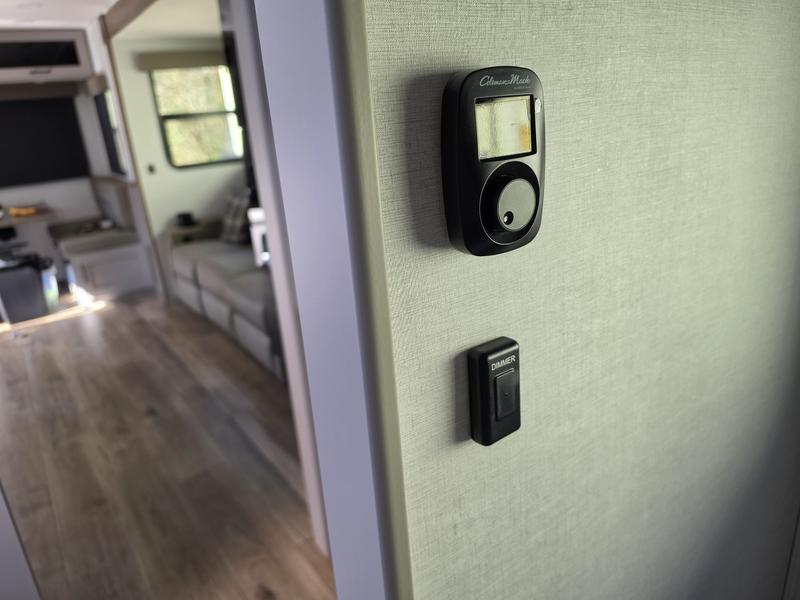
This I installed two dimmer switches. One in the bedroom and one for the couch.
The couch was pretty straight forward just had to find out what pair was the 12VDC and of course the other is the lights. The bedroom was a mess. They had one pair of wires super short and you have the over bed lights circuit and then the main lights and of course the 12VDC coming in. I had to figure all this out with the meter. Color coded wires are not going to help here. LOL Just another marketing scam. Is is nice they used real Wago's and of course I keep them suckers in stock.
.
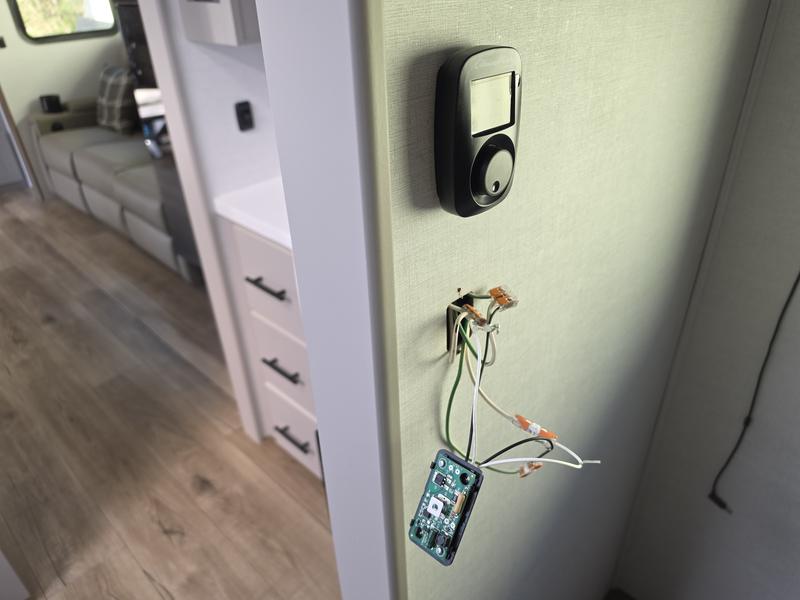
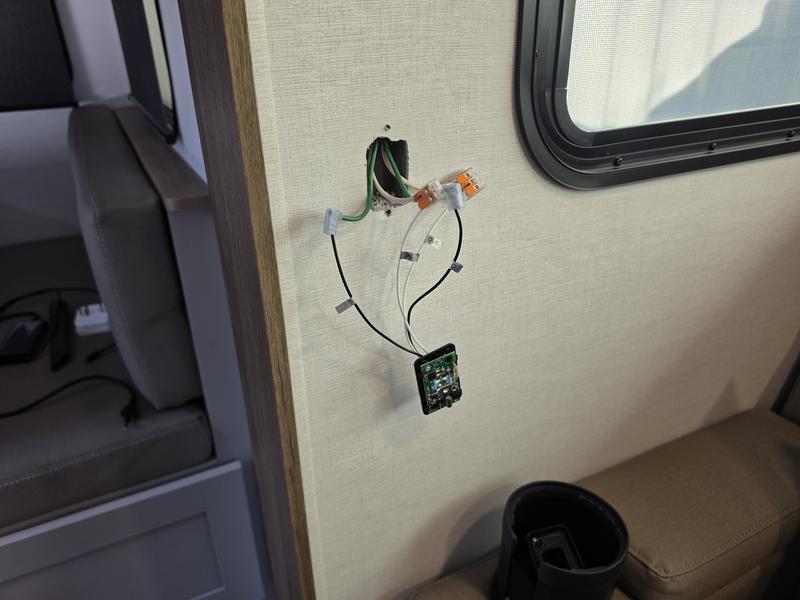
.
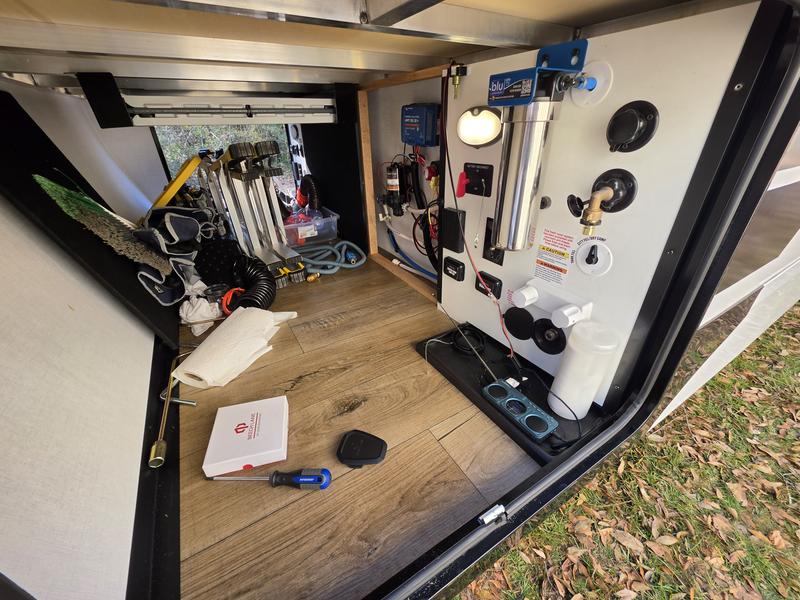
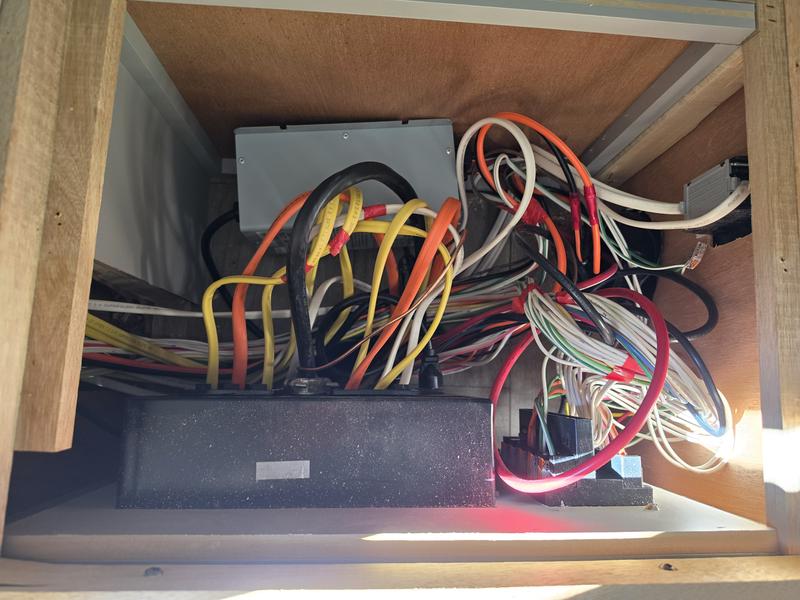
And lastly started ripping more things apart. The water heater was leaking on the inlet side just needed to be tighten. I also removed the seat over the breaker box and 12VDC fuse box. What a mess. Nice they used a pretty good 120VAC to 12VDC converter and it's the AD model so should auto detect if you have LIFEPO4 batteries. I did not see a light so no way to tell what it's doing. I will look again later. I did remove it from the floor. I did not like the way they mounted it.
Good news there is alot of room to add a second water heater that runs on 120VAC if you did not want to use gas all the time. Would be very easy to do.
Funny they have a heat vent next to the breaker box under the dinette. It dos nothing. there is no ducting going to it. Welll maybe just maybe they were thinking about that 12VDC converter to get hot because it does get hot and has it's own fan.
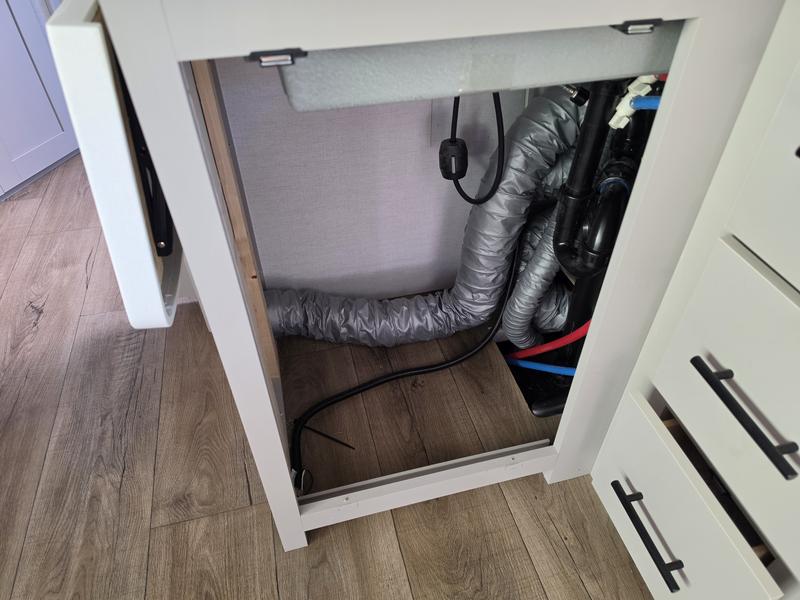
So brining that up. They have major holes in the floor. Under the sink there is a huge hole for ducts and what-nots but lets in alot of cold or hot air into the camper. Needs to be sealed up. Also under the breaker box at the dinette another pretty big hole for the wires going into the floor. Also needs to be sealed. If you don's seal these you might as well leave the windows open. LOL It's that bad. Under the bathroom sink not so bad but I would still seal that also.
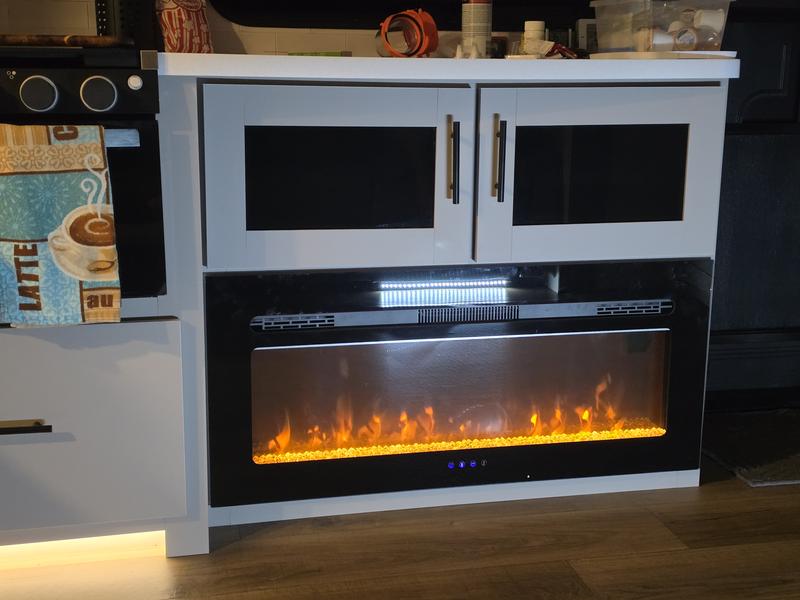
BTW the glass on the fire place fell off once. Very hard to lock properly. I am going to make a bracket to make it lock into place and not pop up while pulling.
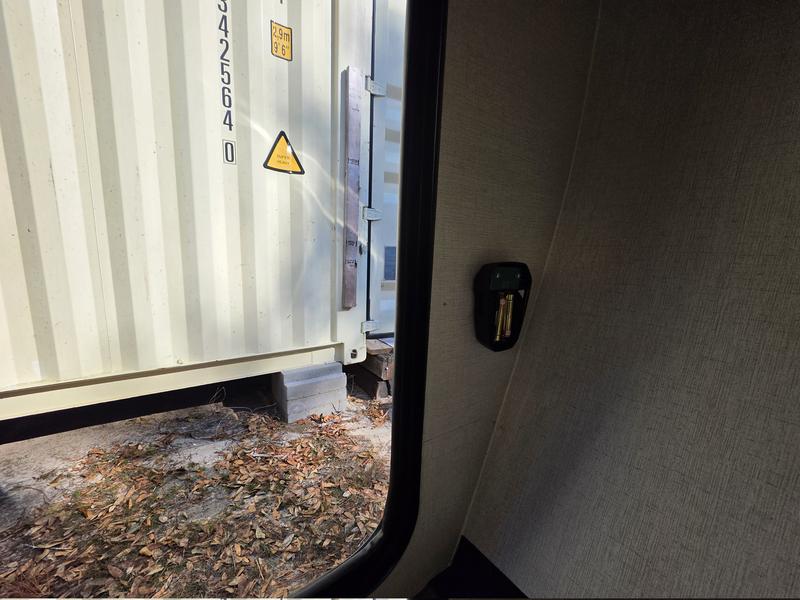
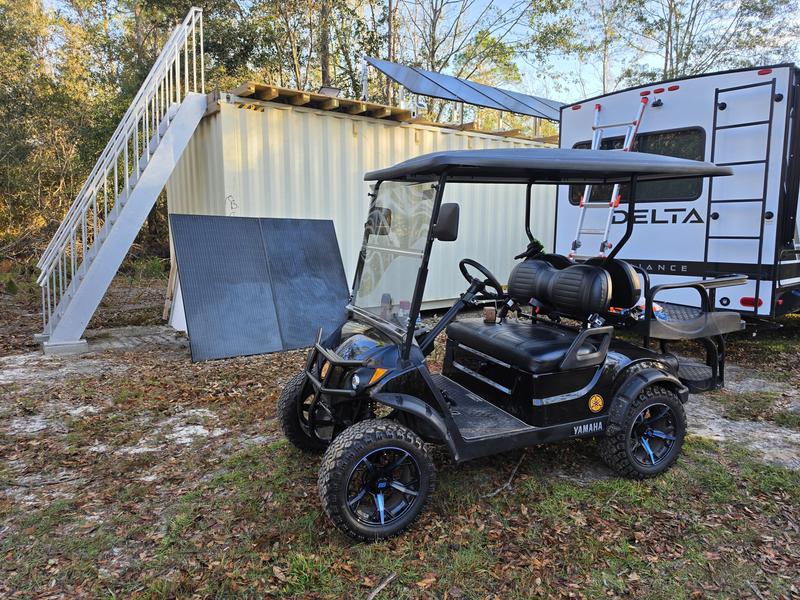
I have it parked next to the conex box for now I am building a site for it up at our property. I have 18 ton of rock. I have a solar system in the conex I installed and can do 240VAC with two AIOs Inverters in parallel. I will bury cable and already have a RV panel box for it so I can power it from the solar system. I have another separate solar system for the cabin up there. Then another small DC solar system in the conex just to power the starlink router and POE switch for the remote APs I have up in trees for wifi coverage on the property. We don't live here but only about 10 miles from the house.
I was keeping the camper at storage but they raised the price by double so I pulled out and it's free there and will have power and water free from a water well and solar.
More Pics.
.
Hope this helps you all thinking about doing updates to your camper. I will be taking more things apart because I don't trust these people making them. Next will be the roof AC Units to check wiring and I will be adding a soft start and duct system.
.

I would say don't get hung up on a brand and or listen to there hype because it's all BS. They are built like crap and nobody cares. Just get a floor plan you like.
I do like they use a good charge controller (Victron) and a pretty decent 400W Panel I think Renogy... The first thing I did at the dealer is connect my app to the controller gotta use the pin from the sticker and make sure it was set to my LIFEPO4 batteries. I will add a second panel later and run them in series.
So first thing I did is add my backup camera and wired it to the lights. That camera button is the dumbest thing I have ever seen. Most all mfg have the backup camera so you can control it with the lights. I run down the road towing with at least the running lights anyway.
Pictures.
.
,
This I installed two dimmer switches. One in the bedroom and one for the couch.
The couch was pretty straight forward just had to find out what pair was the 12VDC and of course the other is the lights. The bedroom was a mess. They had one pair of wires super short and you have the over bed lights circuit and then the main lights and of course the 12VDC coming in. I had to figure all this out with the meter. Color coded wires are not going to help here. LOL Just another marketing scam. Is is nice they used real Wago's and of course I keep them suckers in stock.
.
.
And lastly started ripping more things apart. The water heater was leaking on the inlet side just needed to be tighten. I also removed the seat over the breaker box and 12VDC fuse box. What a mess. Nice they used a pretty good 120VAC to 12VDC converter and it's the AD model so should auto detect if you have LIFEPO4 batteries. I did not see a light so no way to tell what it's doing. I will look again later. I did remove it from the floor. I did not like the way they mounted it.
Good news there is alot of room to add a second water heater that runs on 120VAC if you did not want to use gas all the time. Would be very easy to do.
Funny they have a heat vent next to the breaker box under the dinette. It dos nothing. there is no ducting going to it. Welll maybe just maybe they were thinking about that 12VDC converter to get hot because it does get hot and has it's own fan.
So brining that up. They have major holes in the floor. Under the sink there is a huge hole for ducts and what-nots but lets in alot of cold or hot air into the camper. Needs to be sealed up. Also under the breaker box at the dinette another pretty big hole for the wires going into the floor. Also needs to be sealed. If you don's seal these you might as well leave the windows open. LOL It's that bad. Under the bathroom sink not so bad but I would still seal that also.
BTW the glass on the fire place fell off once. Very hard to lock properly. I am going to make a bracket to make it lock into place and not pop up while pulling.
I have it parked next to the conex box for now I am building a site for it up at our property. I have 18 ton of rock. I have a solar system in the conex I installed and can do 240VAC with two AIOs Inverters in parallel. I will bury cable and already have a RV panel box for it so I can power it from the solar system. I have another separate solar system for the cabin up there. Then another small DC solar system in the conex just to power the starlink router and POE switch for the remote APs I have up in trees for wifi coverage on the property. We don't live here but only about 10 miles from the house.
I was keeping the camper at storage but they raised the price by double so I pulled out and it's free there and will have power and water free from a water well and solar.
More Pics.
.
Hope this helps you all thinking about doing updates to your camper. I will be taking more things apart because I don't trust these people making them. Next will be the roof AC Units to check wiring and I will be adding a soft start and duct system.
.