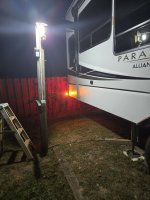
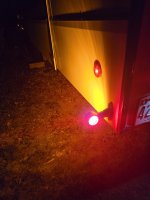
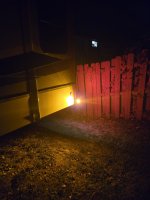
I'd like to add additional run/turn/brake lights on the rear of my 32RLS. The OEM lights are small and located down low. When I load up the bicycles on the rear hitch mounted carrier, the lights are barely visible and the right light is already located behind the roof ladder. Even without the bicycles mounted, I still feel adding lights up high is a good idea from a safety standpoint. Below is a picture with the proposed location of the lights.
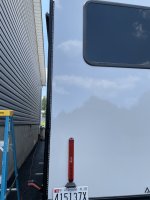
What I'd like to do is to mount a pair of 15" or so lights horizontally up high, one above each existing tail light which will put them above the roof line of most cars, making them more easily visible to multiple cars following behind. This places them above the huge rear window. But the problem is how to properly and cleanly run the electric lines! I'd like for them to be concealed within the wall but how does one accomplish this?
The more I look at it, the more I think the best way is to remove the rear window to gain access to the wall cross section. Once removed, I could probably fish the lines through the foam insulation with, admittedly, a lot of effort and swearing.
Has anyone added lights to their rigs? Or removed that back window? Thoughts? Ideas? Laughter? Prayers??