Socal-Paul
Well-known member
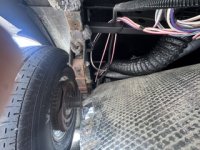
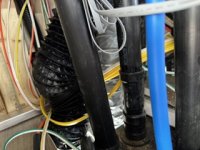
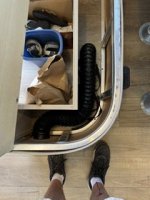
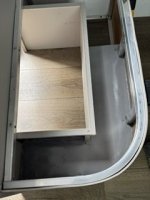
Our 23ML has one heater vent in the living space which does not really do the job. I have been thinking about adding another and racking my old brain trying to come up with a routing that will work. There are four ducts coming off the heater one goes up to a T which feeds the vents in the bedroom and kitchen the other goes to the rear of the unit. The other two were stuffed into the sub-basement, the area between the floor and the chloroplast.
I dropped one side of the chloroplast and believe a route has been found so the plan is to drop the front section chloroplast next week to install. One of the two ducts that were stuffed into the sub-basement will be used. I’m not concerned with using one because when the heater is on it turns the basement area into a oven.
What was found when the chloroplast was dropped was a little concerning. There are wires unprotected running through the cross members this will be corrected next week. While pounding on the pry bar a sensor for the leveler fell into my face. It took awhile to find where it went and when the spot was found it was held by one screw which was over tightened so the head fell off. The sensor has spots for two screws, there were six sensors that were found and all had only one screw holding them. Just a heads up, one is probably enough to hold them well past the life of the unit but they all will have two before I’m done.
Will post more with pictures as I go. Comments suggestions appreciated.
I dropped one side of the chloroplast and believe a route has been found so the plan is to drop the front section chloroplast next week to install. One of the two ducts that were stuffed into the sub-basement will be used. I’m not concerned with using one because when the heater is on it turns the basement area into a oven.
What was found when the chloroplast was dropped was a little concerning. There are wires unprotected running through the cross members this will be corrected next week. While pounding on the pry bar a sensor for the leveler fell into my face. It took awhile to find where it went and when the spot was found it was held by one screw which was over tightened so the head fell off. The sensor has spots for two screws, there were six sensors that were found and all had only one screw holding them. Just a heads up, one is probably enough to hold them well past the life of the unit but they all will have two before I’m done.
Will post more with pictures as I go. Comments suggestions appreciated.